What is a Blower Door Test?
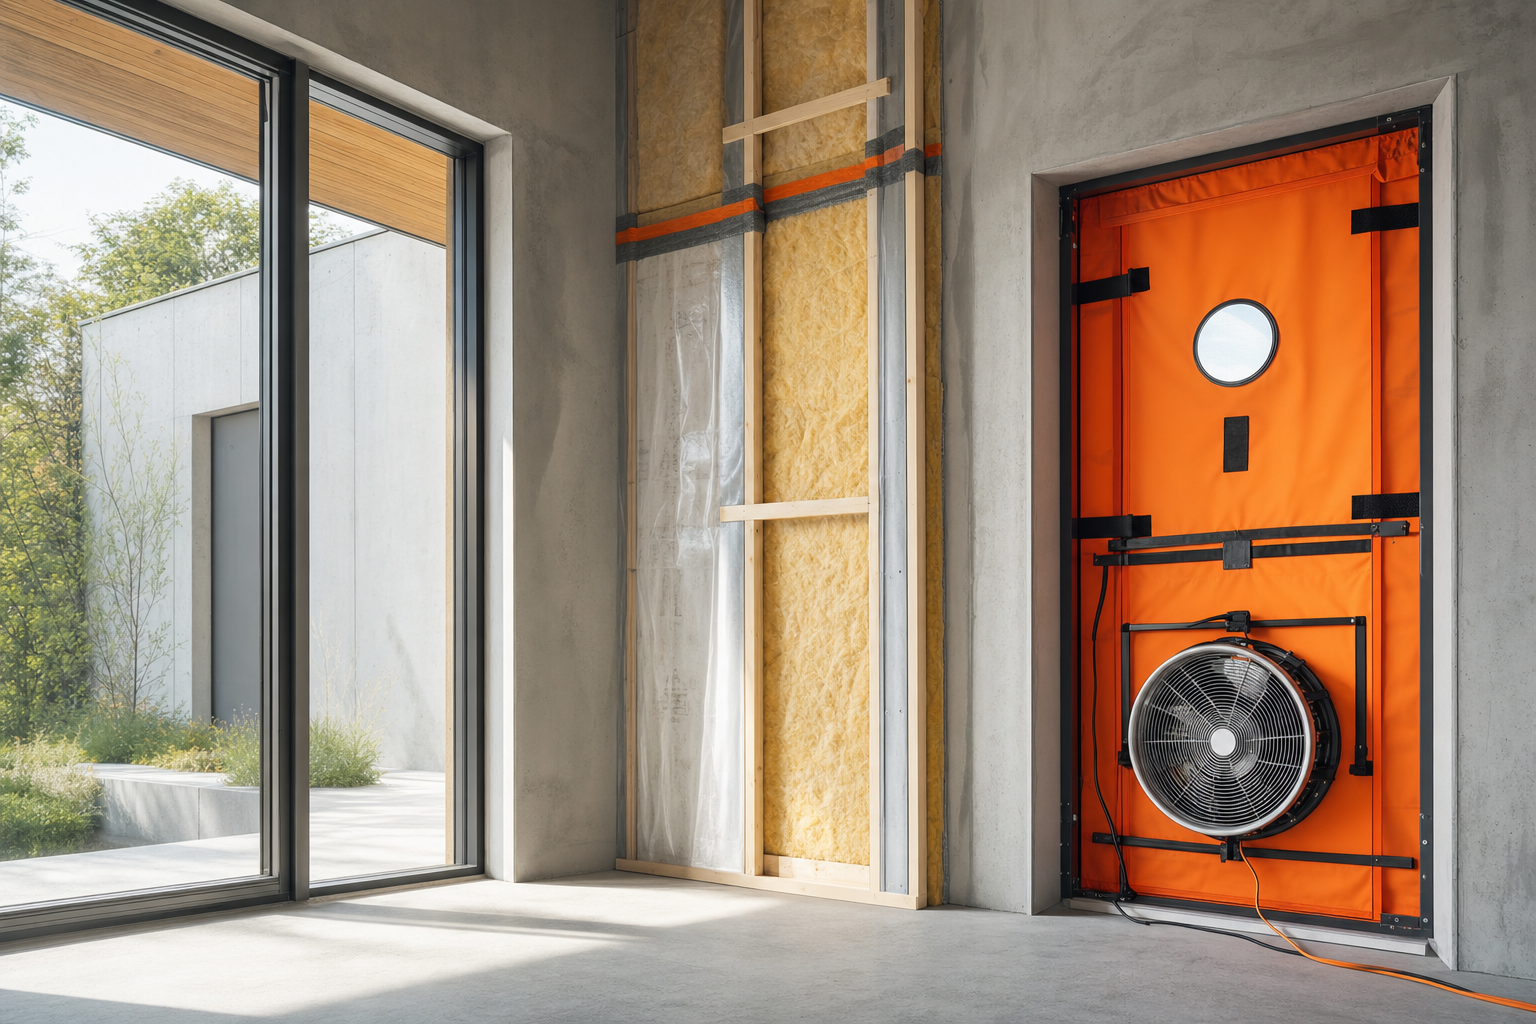
A blower door test is a diagnostic procedure used to measure the airtightness of a building. It involves installing a calibrated fan into an exterior door frame to either depressurize or pressurize the building. By doing so, the test identifies where air leaks occur in the building envelope, revealing hidden gaps that compromise energy efficiency.
During the test, the fan creates a controlled pressure difference, and sensors measure the air flow required to maintain this pressure. This process helps locate leaks by detecting changes in airflow, enabling builders and designers to understand the quality of the building’s air barrier.
What the Test Measures
The primary metric measured in a blower door test is airtightness, often expressed as Air Changes per Hour at 50 Pascals (ACH50). This value represents how many times the air inside the building is replaced with outside air in one hour under a standardized pressure difference of 50 Pa.
A lower ACH50 indicates better airtightness. For example, a typical new home might have an ACH50 between 3 and 5, whereas high-performance buildings, such as those meeting Passivhaus standards, aim for an ACH50 of 0.6 or less. This stringent benchmark ensures minimal air leakage and superior energy performance.
Why Airtightness Matters
Airtightness plays a crucial role in the overall energy efficiency and comfort of a building. When air leaks occur, they undermine the effectiveness of insulation by allowing uncontrolled air movement, which can create thermal bypasses and reduce the insulation’s ability to keep the interior temperature stable.
For example, gaps in the air barrier can let cold air infiltrate during winter, forcing heating systems to work harder and increasing energy costs. Moreover, poor airtightness can lead to moisture problems, which may damage building materials and degrade indoor air quality.
Ensuring a continuous, sealed air barrier around the thermal envelope is essential. Case studies have shown that properly sealed buildings not only save energy but also improve occupant comfort and reduce heating and cooling expenses.
How the Test is Performed
Performing a blower door test involves several key steps:
-
Installing the calibrated fan in an exterior door frame, sealing around it to prevent leaks at the installation point.
-
Closing all windows, doors, and vents to create a controlled environment.
-
Using taped membranes and vapour barriers to seal known openings and ensure accurate measurement.
-
Running the fan to depressurize or pressurize the building and measuring the airflow needed to maintain the set pressure difference.
Preparation is critical. Common mistakes include failing to close all openings or neglecting to seal temporary penetrations, which can skew results. Proper installation of vapour barriers and taped membranes ensures the test reflects true building airtightness rather than temporary leaks.
Interpreting Results
Once the test is complete, the ACH50 value provides a clear indicator of the building’s airtightness. A lower ACH50 means fewer air leaks. For instance:
-
ACH50 above 5: Indicates significant leakage, requiring attention.
-
ACH50 between 3 and 5: Average airtightness for many new homes but may not meet advanced standards.
-
ACH50 below 1: High-performance airtightness, often seen in Passive House buildings.
Buildings aiming for Passivhaus certification must meet a stringent ACH50 of 0.6 or less, demonstrating exceptional control over air leakage. If results exceed your target, the next steps include locating leaks using smoke pencils or infrared cameras and planning repairs to improve airtightness.
Common Leakage Points
Air leakage tends to occur at predictable locations where building materials intersect or where penetrations exist. Typical leakage points include:
-
Window and door frames
-
Attic staircases and access hatches
-
Chimney chases and recessed lighting fixtures
-
Plumbing and electrical penetrations
-
Framing joints and corners
These areas are prone to leaks due to construction complexity or inadequate sealing. Identifying these spots during a blower door test helps prioritize sealing efforts and improve overall building performance.
Fixing Airtightness Failures
Addressing airtightness failures involves sealing leaks with appropriate materials such as caulks, foams, or weatherstripping. Proper installation of vapour barriers is essential; they must be continuous and carefully integrated with air barriers to prevent moisture issues and maintain insulation effectiveness.
For example, a case study revealed that sealing gaps around window frames and electrical penetrations reduced air leakage significantly, enhancing comfort and lowering energy bills. When in doubt, consulting professionals experienced in airtightness and vapour barrier installation ensures quality results.
Self-Builder Preparation Checklist
For self-builders preparing for a blower door test, consider the following checklist to ensure accurate and meaningful results:
-
Close all exterior doors and windows securely.
-
Seal temporary openings such as vents or exhaust fans.
-
Ensure taped membranes and vapour barriers are intact and properly installed.
-
Remove or cover combustion appliances as recommended for safety.
-
Turn off HVAC systems to avoid interference.
-
Inform all occupants to avoid opening doors or windows during testing.
Common pitfalls include forgetting to seal attic access or neglecting to close the fireplace damper, both of which can lead to misleading high leakage readings. Following this checklist helps avoid such errors and provides a true picture of building airtightness.
Considering a blower door test in your project can uncover hidden leaks that compromise insulation and energy efficiency. By understanding and improving airtightness, you enhance comfort, reduce costs, and move closer to high-performance building standards.